 I think I received the best Valentine’s Day gift I could imagine. My husband says I’m difficult to buy gifts for but I don’t understand why. I am not a romantic and I definitely didn’t want a box of chocolates! So for my gift, I received honey bees.
Ok, well its not exactly like I unwrapped a box of bees…let me explain.
There are many steps to starting a honey bee hive. For Valentine’s Day my husband ordered bees for me and bought me a bee starter kit. I would have to wait until April to actually get my bees. This turned out great because I spent the next two months learning everything I could about bees.
I researched the city rules to determine if I could have bees on my property and where. I found the local bee keepers association which was a wealth of information.
I read many blog posts and urban homesteading books. My favorite site is keepingbackyardbees.com. The family keeps bees and shares their many uses for the bees wax as well as the honey.
I also attended a free clinic at Coastal Farm & Supply Store. I learned so much at this class and was able to ask questions. I also won lots of free gifts in their door prize raffle…(hint, bring the kids to get more raffle tickets!)
After all of the research, I discovered I didn’t have enough supplies. As with any new hobby, the upfront costs can add up. Although I had the started kit, I realized I needed additional hive boxes. I ordered two additional 10-Frame Assembled Painted Hive Kits from Amazon.
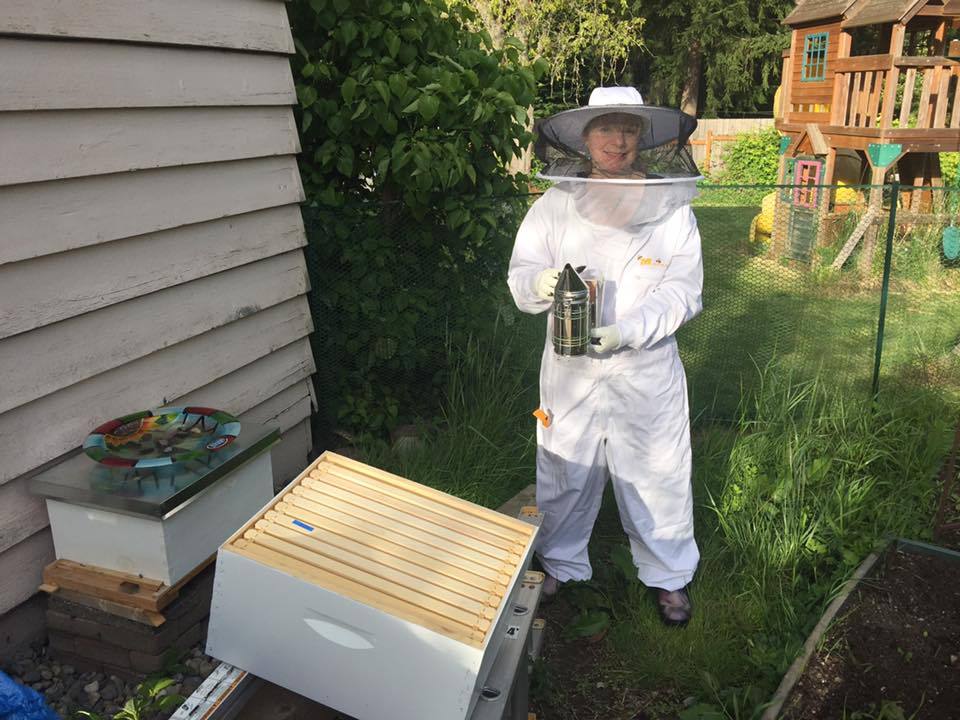
Finally, we received the notice that our bees had arrived at Coastal!
Here you can see the 5-Frame Nuc box frames that were inserted into the brand new hive box.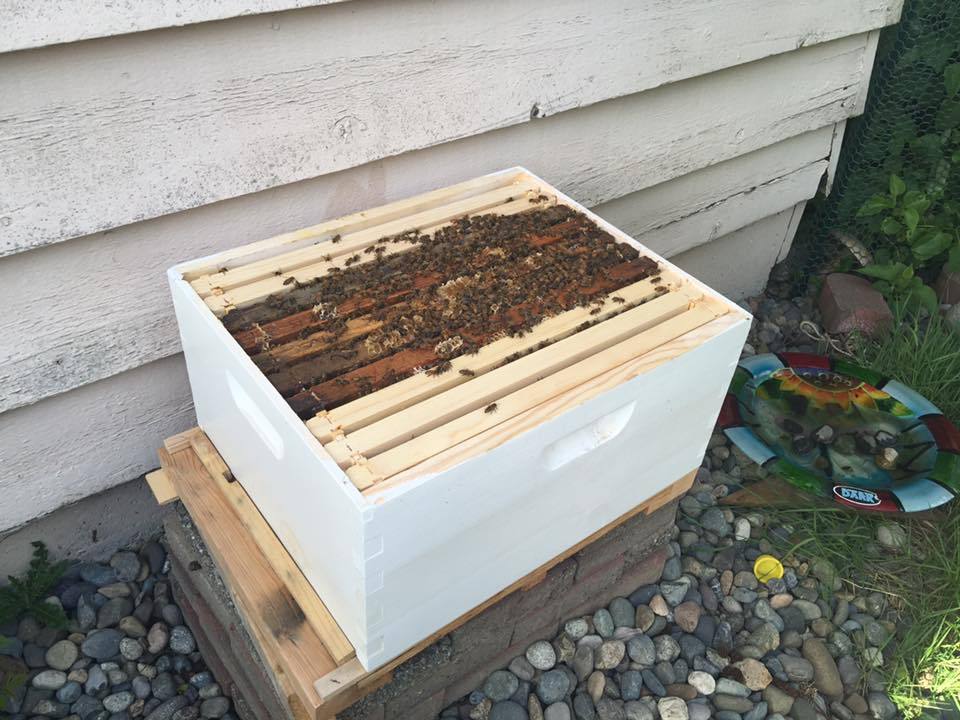
Here I am holding the inner hive lid. I left the bees alone for nearly one month before peeking into the hive. When I saw the bees started making honey comb on the lid, so I knew it was time to add my second hive box.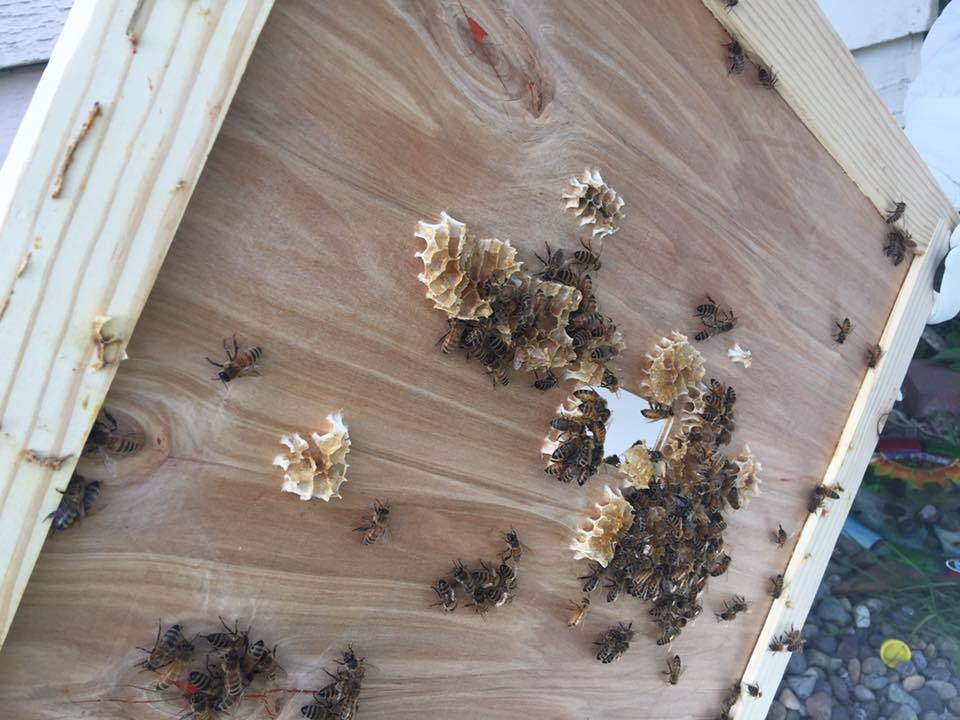
Thank you for reading. Please leave comments and let me know if you have any questions or advice for me.
-Martha